All Things Distress
Part 2
Wrinkle Free Distress
.
- - - - - - - - - - - - - - - - - - - - - - - - - - - - - - - -
Last week I introduced you to distress inks from Ranger/ Tim Holtz, telling you what made them so unique, and showing you just how easy it is to blend them together, and to get a great distressed look just by adding a few drops of water.
Today, I’m showing you a completely different way of blending them together – it is more random, and potentially more messy, but gives great results!
Before we get our fingers inky, I’m going to tell you a little bit more about the Ranger craft mat, generally considered to be the best craft mat there is. I’m not on commission or anything – I’m passing on my knowledge so you can make an informed choice.
Many people think the craft sheet looks just like a baking sheet, and so, understandably, think they can use a baking sheet instead, especially as they are much cheaper. Well, of course you can if you want to, but it is not the same thing, and it will not protect your working surfaces in the same way that the Ranger craft mat does.
The Ranger mat is made of Teflon fabric, fused in a layer of glass. This means that nothing will stick to it or go through it, and it means that it is heat tolerant up to 850° Fahrenheit. So if you are heat embossing, using a craft iron, or anything else involving heat, your craft surface should be well protected (though it might be best not to try it out on your RM 5,000 dining table!). A baking sheet is non-stick, but it is most definitely not heat resistant. I’m not sure whether inks would go through it, I’ve never tried, but feel free to experiment if you want to! So, if you’re planning on doing lots of inky crafting, especially involving things like heat embossing, then the Ranger sheet is a good investment. One more thing – never, ever fold the sheet, always roll it up to put it away.
OK, now onto the fun part – wrinkle-free distressing. This is another great way to create backgrounds, and is so much fun I think you’ll want to try it out with lots of different colour combinations!
.
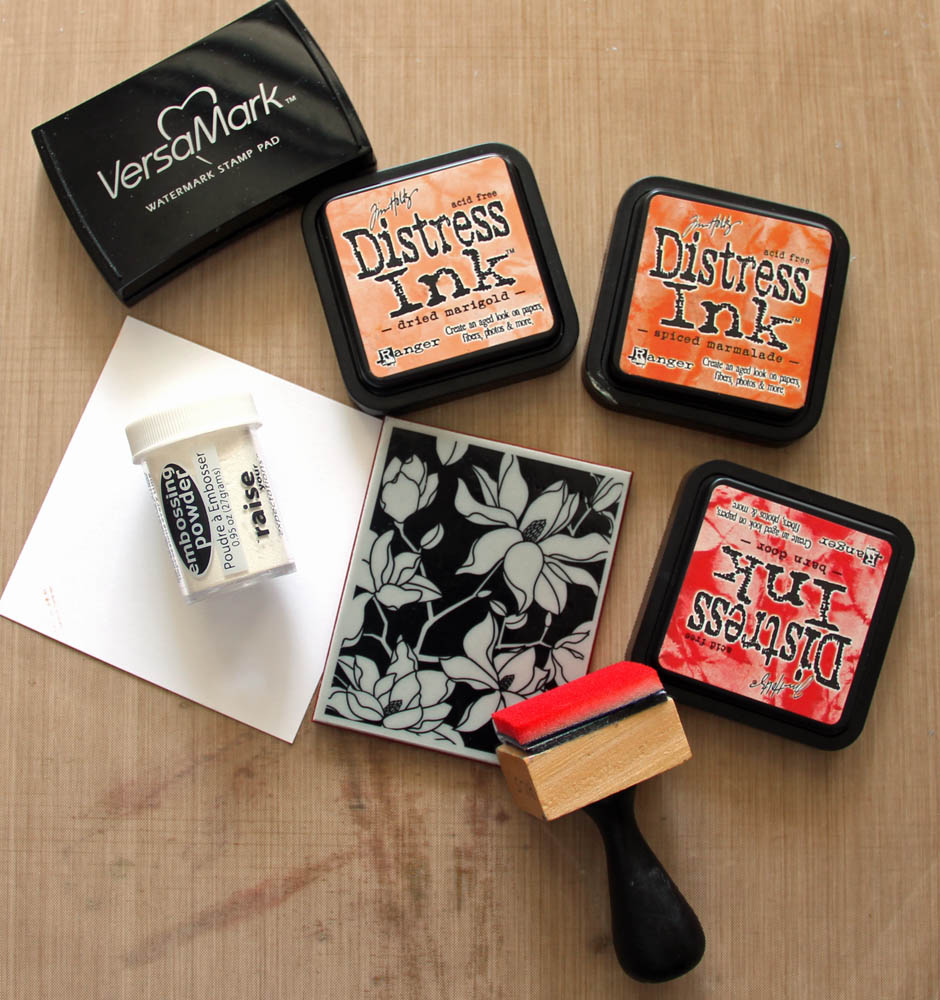
What Do You Need?
.
..
A craft mat
A spray mister
Distress inks
Paper - I have used a Ranger manila tag but you can use whatever you have
Heat tool (optional)
{ Items can be purchased from Scrap-n-Crop.com HERE }
I have used Worn Lipstick, Stormy Sky and Dusty Concord, but, as always with these techniques, you can use as many or as few colours in whatever combination you like.
.
Instructions:
.
Rub your different colours of distress ink onto your craft mat.
Don't rub one colour on top of or too close to another or you risk contaminating your ink pads.
Spray the ink with water - give it a good few sprays. You should see the ink pool up into little droplets.
.
.
Press your tag/paper into the ink.
You can either press it down and lift it up, or you can swish it around a little if you like. However, the more you swish it, the more you can muddy up the colours. The best way to go about this step is to play around until you find what works best for you.
Dry the tag / paper.
I use a heat tool for this -it's quicker! - but if you do not own a heat tool, you can let it dry naturally.
You can leave your tag / paper as it is, or if you wish, you can add more ink from what is left on your craft mat / sheet. On of the two tags on my picture (right tag), I have died the tag, and then gone back to add a little more ink here and there before drying it again.
{Note - drying in between means that you are layering the inks, not mixing them, so they will not go muddy}
.
I have also shown some tags that I have made previously, using the same method but different colour combinations. One of them is stamped on as well (left tag).
If you are wondering why this is called wrinkle-free distress, and not just distress, it is because in the early days of distress there used to be a popular technique called wrinkled distress. This doesn’t seem to be so popular any more, but if you want to try it, it is easy and uses the same supplies.
- Simply screw your tag/paper up into a ball, so it becomes wrinkled.
- Smooth it out a little and lightly swish it directly with your ink pad, so that just the higher parts of the wrinkles are inked.
- Spritz it with water – the ink will wick out from the creases to give a great distressed look.
- Let it dry.
Unfortunately, this does result in a somewhat crinkled tag, though you can iron it if you wish (with a craft iron, you don’t want to make your clothes inky!). I suspect the need for an iron is what has made this particular technique less attractive.... ;-)
- - - - - - - - - - - - - - - - - - - - - - - - - - - - - - - -
Don’t forget, if you have any questions about this or any other inky/scrappy issues, just leave a comment and I’ll do my best to help.
.
Handy tip
- - - - - - - - - - - -
Inky fingers? Wash them with some cheap shampoo, it should get most of the colour out.
.