OK - this is as Valentine-y as I get.
This is as sweet and cutesy as far as my scrapbooking creations goes.
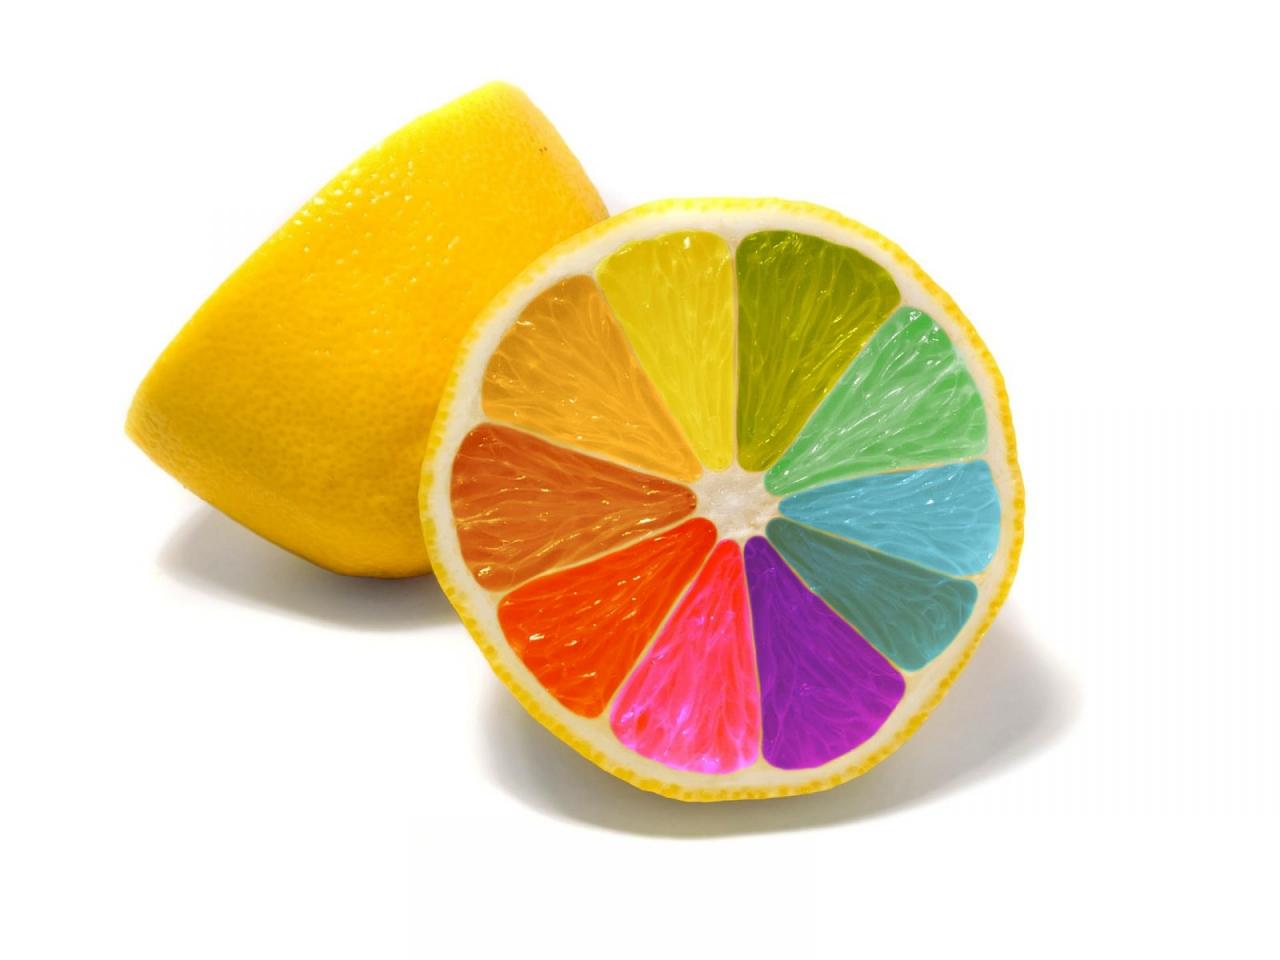
colour scheme
- - - - - - - - - - - - - - - -
Inspired by the multicolored Torre pendente di Pisa ice cream the little girl is eating … and the playfulness in the photo alongside the sun diffracting from the tower and creating a rainbow on the beads of water resting on the blades of grass, I chose to use the Project Life Jade Edition Core Kit, Dear Lizzy Polka Dot Party Mini Kit and 5th and Frolic Core Kit as well as mixing and matching with some Project Life themed patterned papers (to cut) to create more exciting pages!
tips + techniques
- - - - - - - - - - - - - - - - - - -
Being a photographer, first and foremost, I always think of what photo? followed by where to lay them out?
Colour, Black-and-White (BW), Sepia, or all the wonderful funky Instagram type filters works just as well - it's a matter of preference. However, being a traditionalist, I typically gravitate towards BW!
But in this case, I processed some of my photos with the similar 'feel' by way of desaturating the colours; hence balancing (or rather bridging) the other BW images with the assorted coloured Project Life kits.
Photoshop, Photo Elements … and whatever else (including plug-ins) are again a matter of choice and comfort - whichever you are more proficient in!
Matte photos works better vs. glossy paper (which I have used as I am printing with a Canon Selphy at home) as you'll be able to apply more scrapbooking materials on them (paint, ink (pads, spray) … etc.)
- - - - - - - - - - - - - - - - - - -
We've established that cutesy is not really my thing.
I am a grunge, street art (graffiti), comic sketch, digital print … you get the flow.
So, for this Project Life Pisa spread, I had used a combination of water colour wash techniques, (simulated blurry) digital print with rubber stamps and textures created with mediums.
watercolour wash (splatters …etc.)
Point to note, the splatter above was a wet-on-wet technique using a spray of Tattered Angels Glimmer Mist Chalkboard, followed by Tim Holtz Distress Stain, and finally a light mist of Tattered Angels Glimmer Mist to give it a little sheen.
(If you love strong vibrant glimmer, use Smooch Spritz)
The splatter spots below (more defined) is a wet-on-dry technique where Tim Holtz Distress Stains was applied directly by first applying a bit of pressure squeezing the bottle to wet the dabber top with stains, then brutally hitting the dabber onto the paper - please wear an apron and line your working surface preferably with non-stick craft sheet.
I swear by these as I work a lot with permanent mediums and my craft room is white! The nasty bits that's left over on the mat is easily scrapped off - easy cleaning.
"digital print" (stamping)
Unity Stamps has this amazing collection done in collaboration with Christy Tomlinson.
These are so lovely (and fast selling), but there are other brands in Scrap-n-Crop.com that has similar designs in the Stamping section of the website.
Here, I've used 'plump polka dots' and 'classified newsprint'.
Rather than having a fully coloured (in-filled) polka dots, I had dabbed my Stanz On ink pad selectively on the surfaces of the rubber stamp where I wanted more or less ink on it. By applying ink the reverse way I'm also able to control the end shape of the polka dots!
Same technique was used on the 'classified newsprint' rubber stamp to selectively ink some words with Ranger Archival Ink. I had used permanent ink as the photo paper is gloss.
The cursive script is an old rubber stamp that I have owned since my college days.
texture ("love")
Being 100% honest, I got lazy. I took out a teaspoon of Golden Artist Color Fibre Paste, placed it on my non-stick craft sheet, sprayed some Ranger Ink Dylusions 'greens' and 'yellow' simply coz it's within my arms reach onto the patch of Fibre Paste and mixed it with a palette knife.
I normally would have used a small drop (pin head size) of Golden Artist Color Fluid Acrylic, a drop of Golden Artist Color Interference (for glimmer and shimmer you'll die for!) to mix into the Fibre Paste.
The tradeoff here is a muted colour despite using Dylusions which is very strong and vibrant on paper.
For the "love", I had spread the coloured fibre paste on top of Studio Calico's Mr. Huey Sundrifter 2-step stencil and carefully lifted the stencil.
balance
Balance is key!
One of the easiest way to achieve this is to layout the photos and Project Life kits/ elements out and decide where you'll be enhancing it.
I'd encourage you to use 3-4 techniques, colours and materials at the most and repeat them with slight variations across the layout.
Here, for techniques I've repeated the watercolour and stamping.
I've also limited the washi tape to two types; one of which - the Damask by Darice - was used for the Project Life Florence layout that precedes this layout, allowing a consistent flow, and the cutesy pink zig zag (chevron) lines are from Glitz Design.
finishing touch
I can't live without Thickers …
Mix-and-match Thickers that matches your layout.
I'll need to get a typewriter to type in my journaling … I can't live with my handwriting!!!
Next months purchase - perhaps.
- - - - - - - - - - - - - - - - - - -
Wondering about all the various items I've mentioned above?
Curious to experiment with them … and by that I mean with a whole lot of different mediums?
Want to learn how to incorporate mixed-media items into any craft project?
Join mixed media artist Nathalie Kalbach at Scrap-n-Crop.com's annual CELEB ART RETREAT happening this 22nd and 23rd March 2014.
For more details, click HERE
- - - - - - - - - - - - - - - - - - -
Project photos are copyright Scrap-n-Crop.com
If you are reblog-ing, kindly link to this blog and assign credits - thanks!









No comments:
Post a Comment